The Himalayas, the biggest & tallest ranges of Mountains hiding some of its very best places under their snow top mountains. And to explore such beauties you’ve to get out of your comfort zone.
I’ve been to the Himalayas before at Oat Trek in Dharamshala but I was still very far from the snow and from the peak. Kedarkantha in the Winter is an amazing trek for those who want to do a trek in snow and those who want to reach the summit of the peak. Kedarkantha is not an ordinary Himalayas trek, it’s a summit trek. It means you’ve to reach the summit and return back to the starting point.
Kedarkantha Trek at Glance:
Difficulty
Moderate to Hard in Winter
Duration
5-6 Days, depends on Agencies
Distance
30 KM, Sankri Base Camp to Summit and then back to Sankri Base Camp
Highest Altitude
12,500 feet
Temperature
Min: -12°C, Max: 5°C
Getting There
Most of the Trekking Agencies meet at either Dehradun or Mussoorie (in case of YHAI), from there they take you to the Sankri in either Tata Sumo car or in a Bus. If you’re traveling alone then better be in a group or you’ve to take public transport which starts early from Dehradun. When returning from Sankri, you can hire a Bus or Taxi from Sankri Village. You’ll find many cars and Tempo Travelers in the village.
Accommodation
Private Trekking Agencies have their Basecamp there you don’t have to worry about. If you’re traveling without any agency then there are a few Hotels & Homestay at Sankri Village.
Mobile Connectivity
Only the BSNL Mobile connection works and that’s too in Sankri Village. No network on an entire trek and on the Summit you may find Vodafone or Airtel logo. So make sure you tell your relatives that you won’t be in Network for few days.
Essential Gears:
- Hiking Shoes
- LED Torch or Headlamp
- Rain Protection Gear
- 4-5 Pair of Shocks
- Trekking Pole
- You can find more trekking gears list that I used during Kedarkantha Trek
For this trek, I’ve chosen the Youth Hostel of India for many reasons:
- They’re cheap
- They’re run by the Volunteers, working there without any paycheque.
- They provide delicious food.
- Every batch counts reach around 50, so you’ll find enough buddy to make friends and trekking in groups has its own advantage.
- They respect nature, they strictly follow the nature rules.
Kedarkantha Winter Trek Movie for those who don’t like to read:
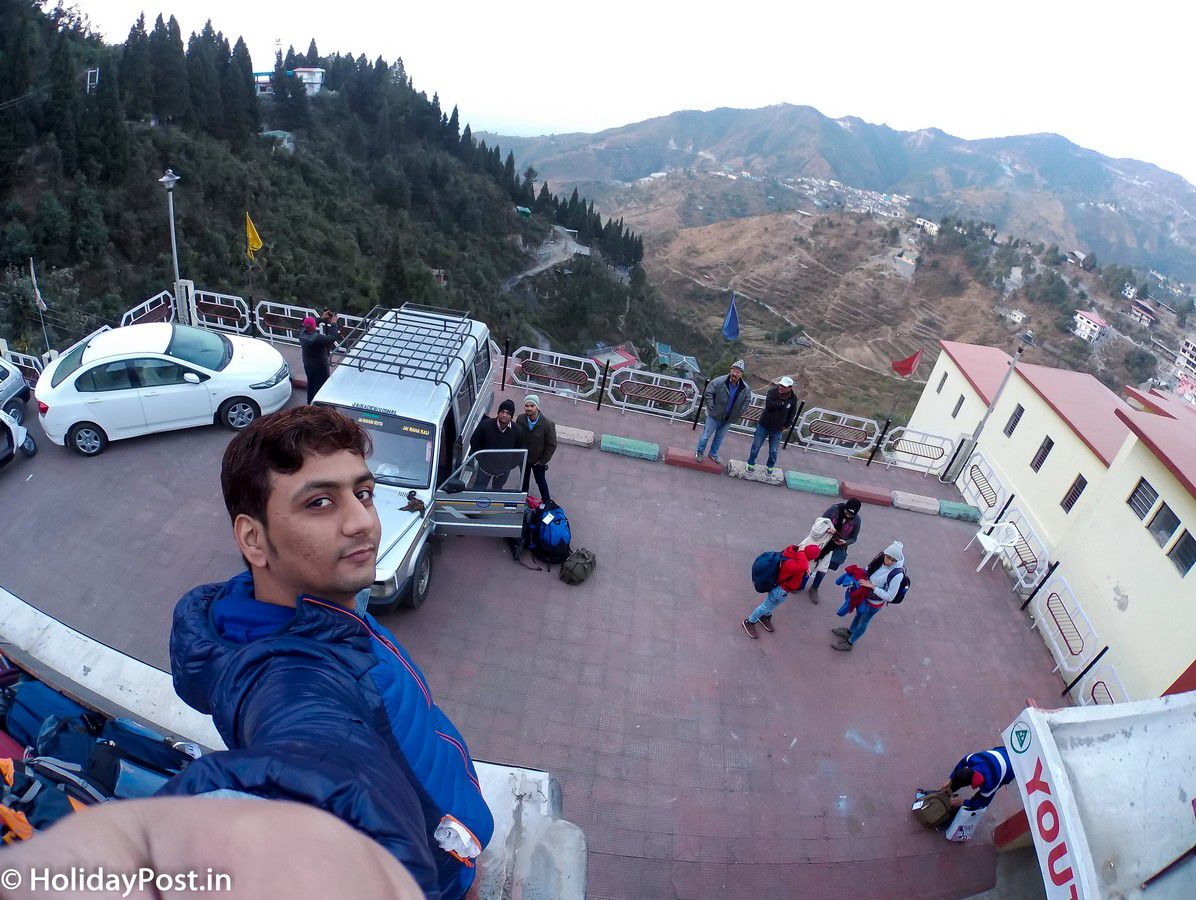
Those who have been to Himalayas trek before know that their base camp lies deep in the Himalayas and to reach there by transport is often tough & costly tasks. This time YHAI decided to call everyone to some popular town with easy access and they chose the Mussoorie for the reporting camp.
I started my journey from Udaipur, Rajasthan and took the train to Delhi, and from there I took Bus to Dehradun, the capital city of Uttarakhand. The next day I’ve to report to Youth Hostel in Mussoorie.
I met fellow trekkers there and quickly become friends, that’s the beauty of Solo Travel. I met Vrajesh, Kiran, Ketan, Sandeep, Gaurav and many others. And from start to End, we stayed together.
You start alone, you return alone but you never travel alone during entire journey.
Day 1 (Mussoorie Camp to Sankri Base Camp)
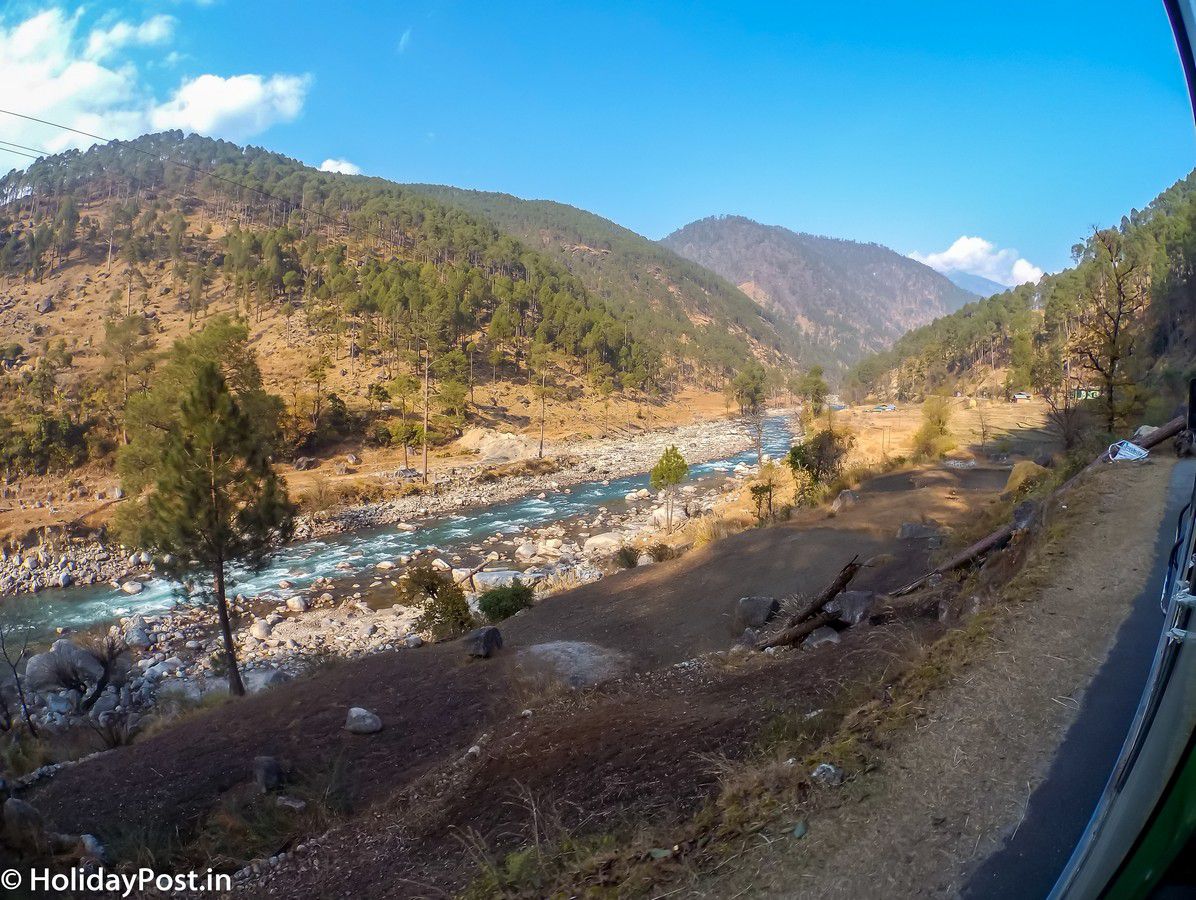
The next day, we started our long journey to Sankri Village. The journey from Mussoorie to Sankri Village takes around 8 hours and the journey was not that easy. People suffered from Motion Sickness during entire trip but I survive, I guess the excitement of my first Winter Trek keeping the internal pressure in control.
I never sleep on a journey, I’m here to enjoy the view. And believe me, the Journey from Mussoorie to Sankri Village is beautiful, if you love a bike trips then you should come here.
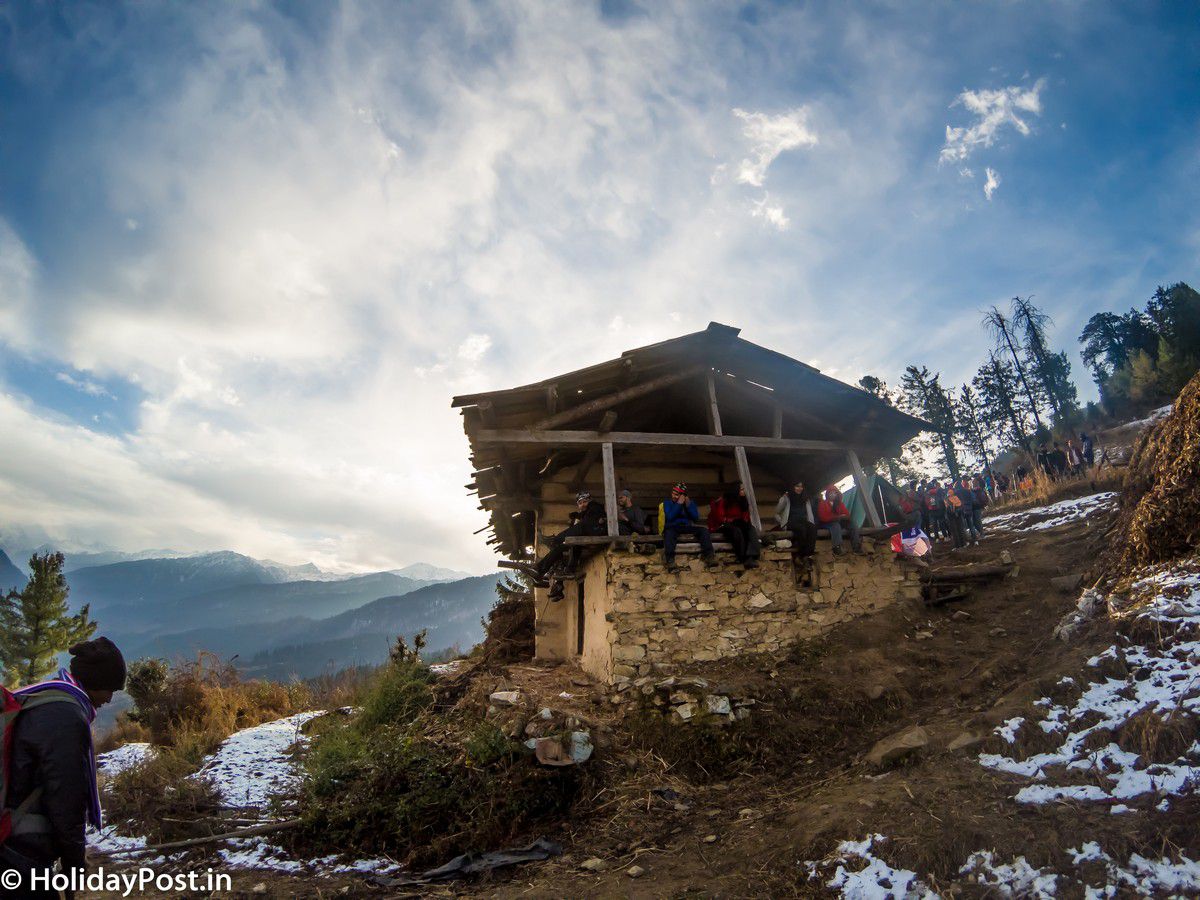
I reached the Sankri Village in the evening where I stayed for 1 day to acclimatize myself. Sankri Village is located deep inside the Himalayas near the Tibet border. It’s situated at an altitude of 6000 feet. If you ask about this village at the capital city of Uttarakhand, very few people know this. But among the trekkers, the village is very popular.
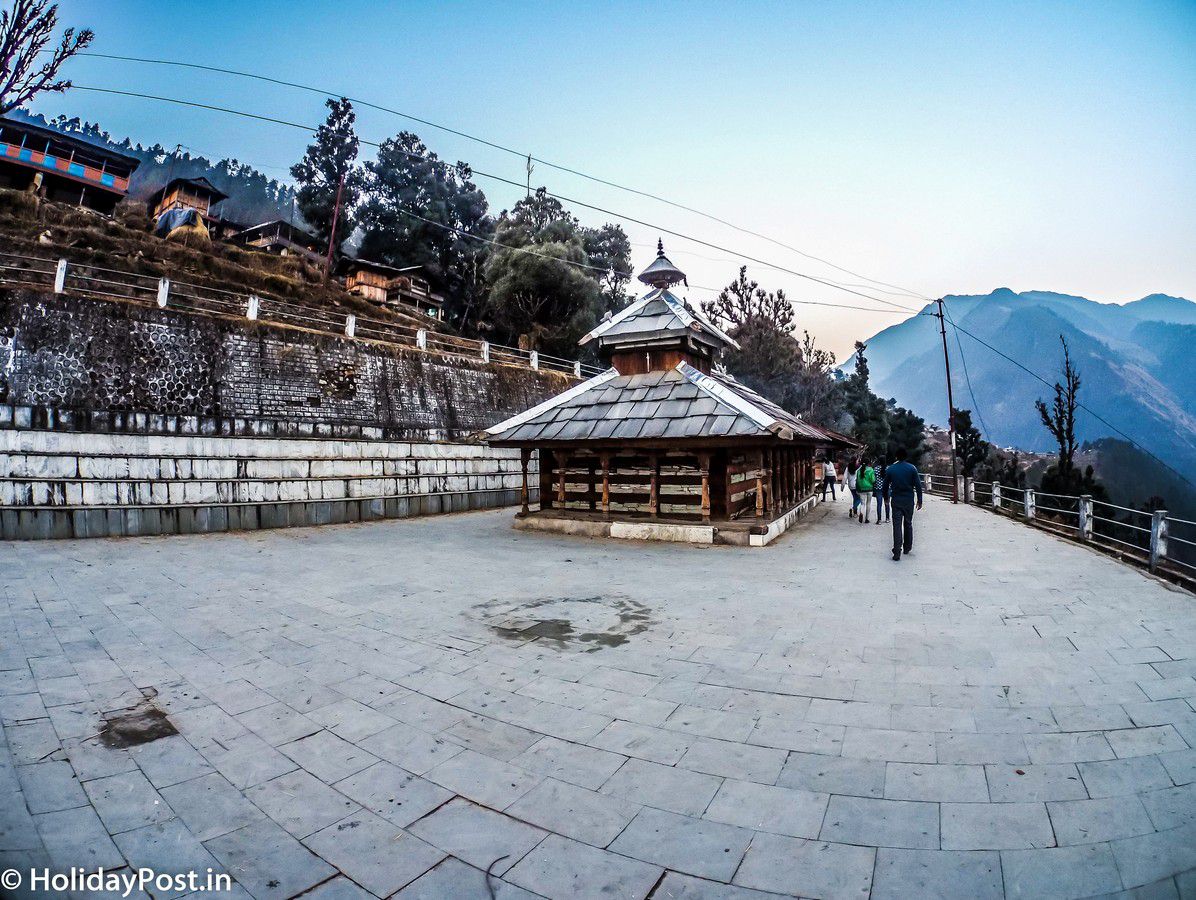
If you’ve time, you can roam around the small village and learn how the village lives in very harsh conditions. Don’t forget to notice the Himalayan Architecture where the entire house is built using wood.
Day 2 (Sankri Base Camp to Juda Ka Talav Campsite):
On a New Year Morning, I started my Trek to Kedarkantha summit. I was excited as this is my First Winter Trek and my first time going on any trek which includes reaching the summit.
I can see the clouds hovering over us and I got the signals that I’ll be getting my first snowfall. At my last trek at Oat Trek in Dharamshala, I learn the behavior of clouds. Despite the camp, leaders are saying that you won’t get any snow. I was pretty sure. And after 1 hour of Trek, snowfall started. I do not know how to react, I’m happy as this is my snowfall but also a little tense as snowfall turns the Trek into Moderate to Hard.
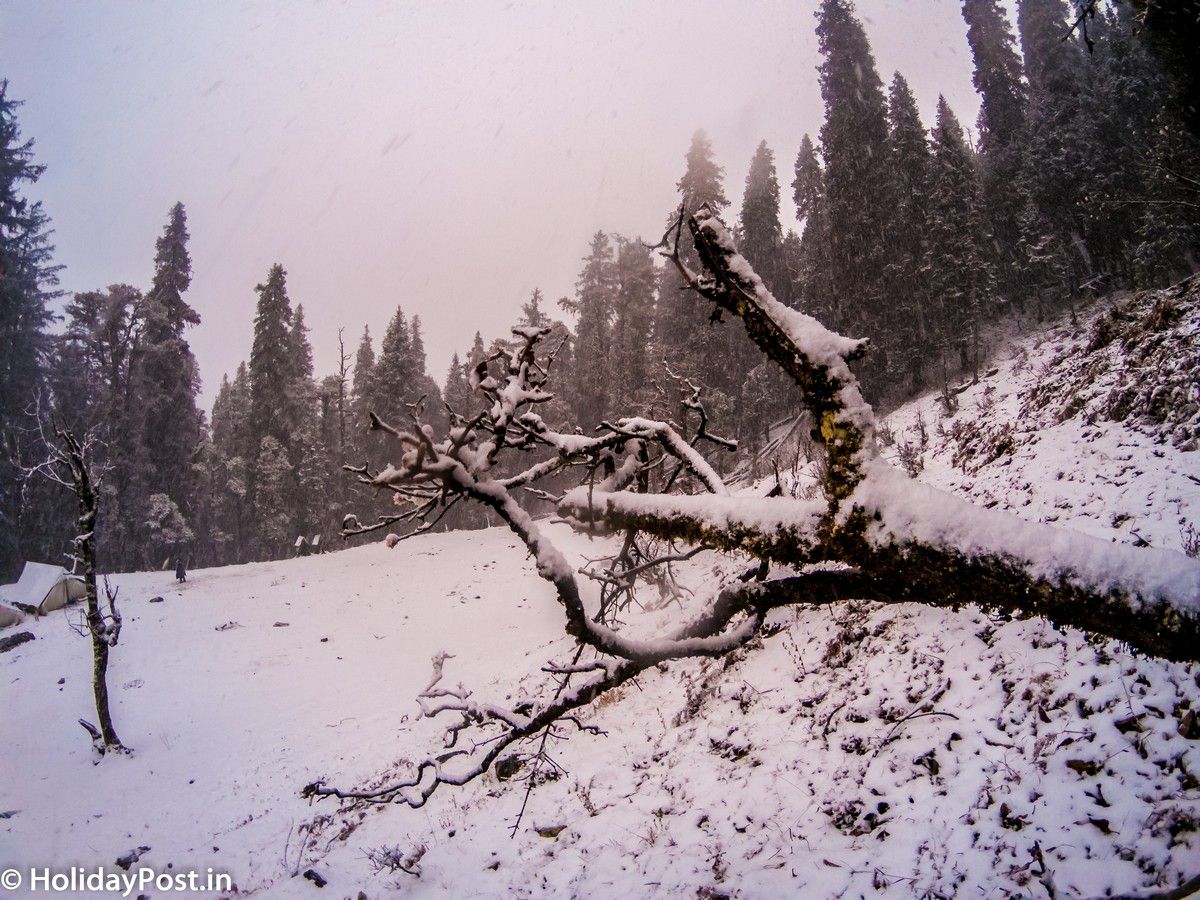
We took some rest at small tea stops and had our packed lunch. During our lunchtime, the snowfall turns heavy and within few minutes the entire surrounding view changed.

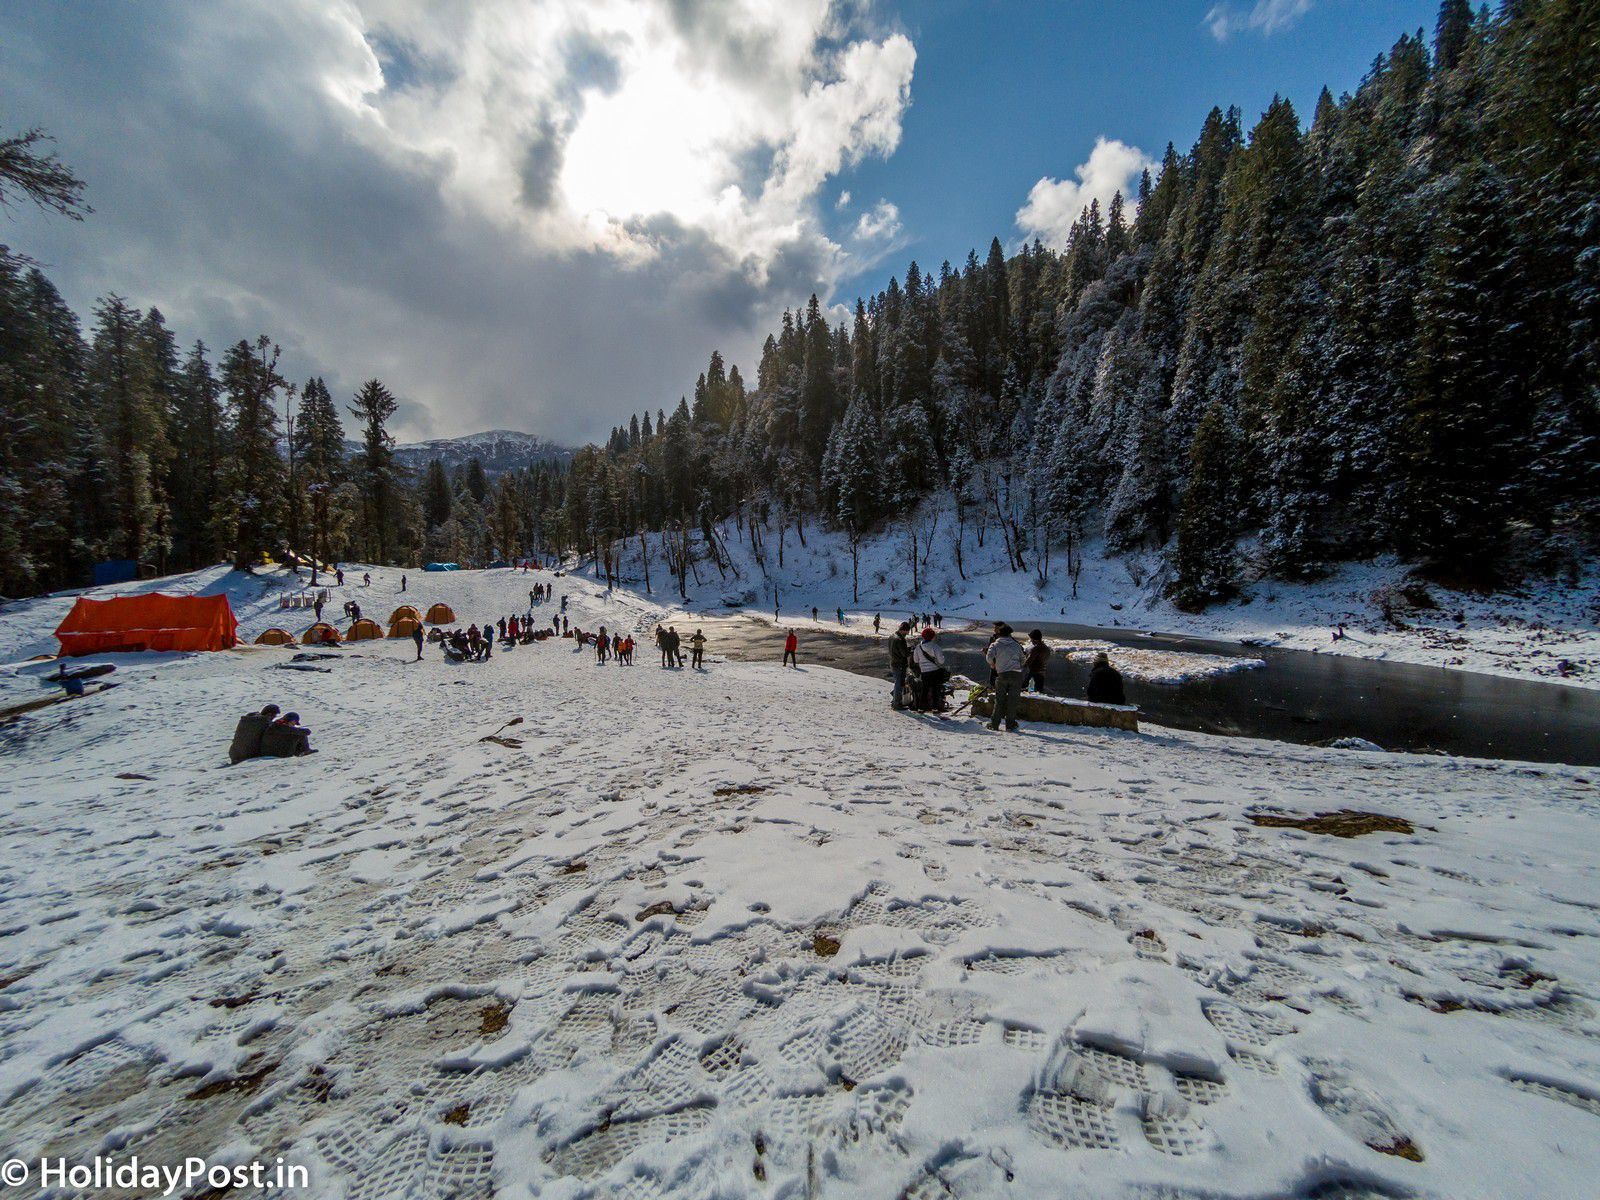
After half an hour, we started our trek, this time we’re walking in snowfall. Despite the snowfall, we continue our trek and soon reach the first campsites, the famous one, Juda Ka Talav. The campsite is located at an altitude of 8000 feet. After a quick break, I finally look around and enjoy the beauty of snowfall. It was indeed a beautiful sight.
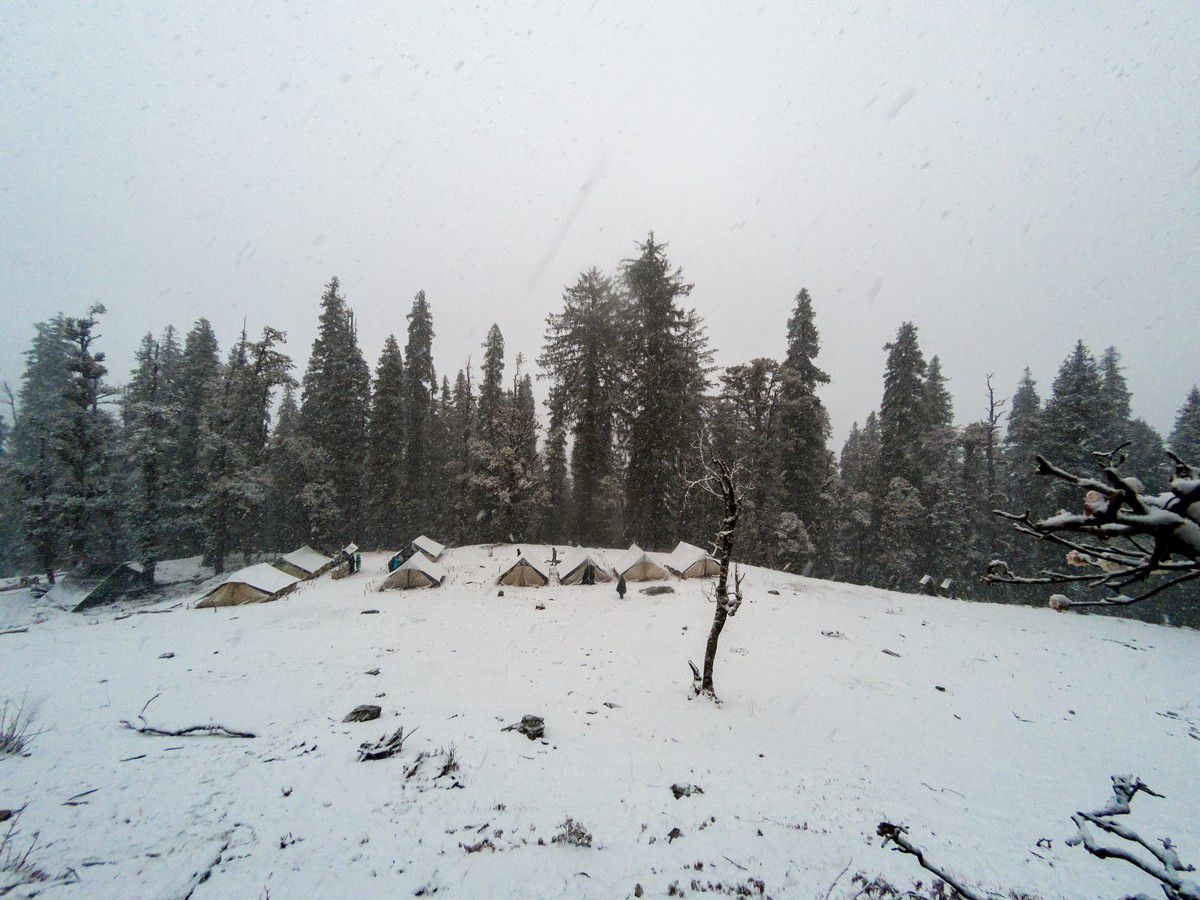
My first snowfall and everything around me was amazingly beautiful. The rest of the time, I spent doing some fun activities on snow till everything turns around dark.
Day 3 (Juda Ka Talav to Luhasu (Kedarkantha) Base Camp)
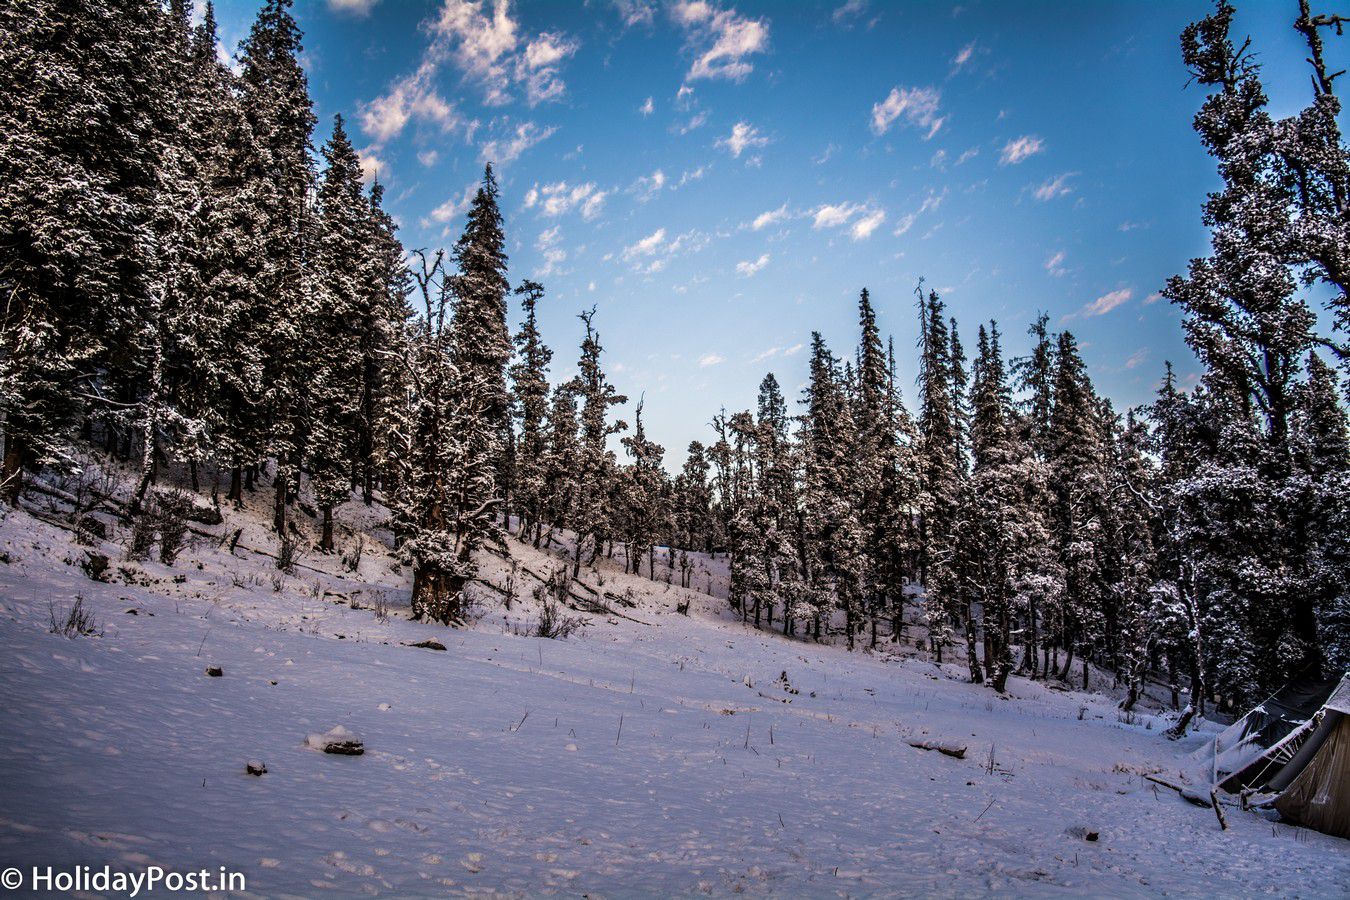
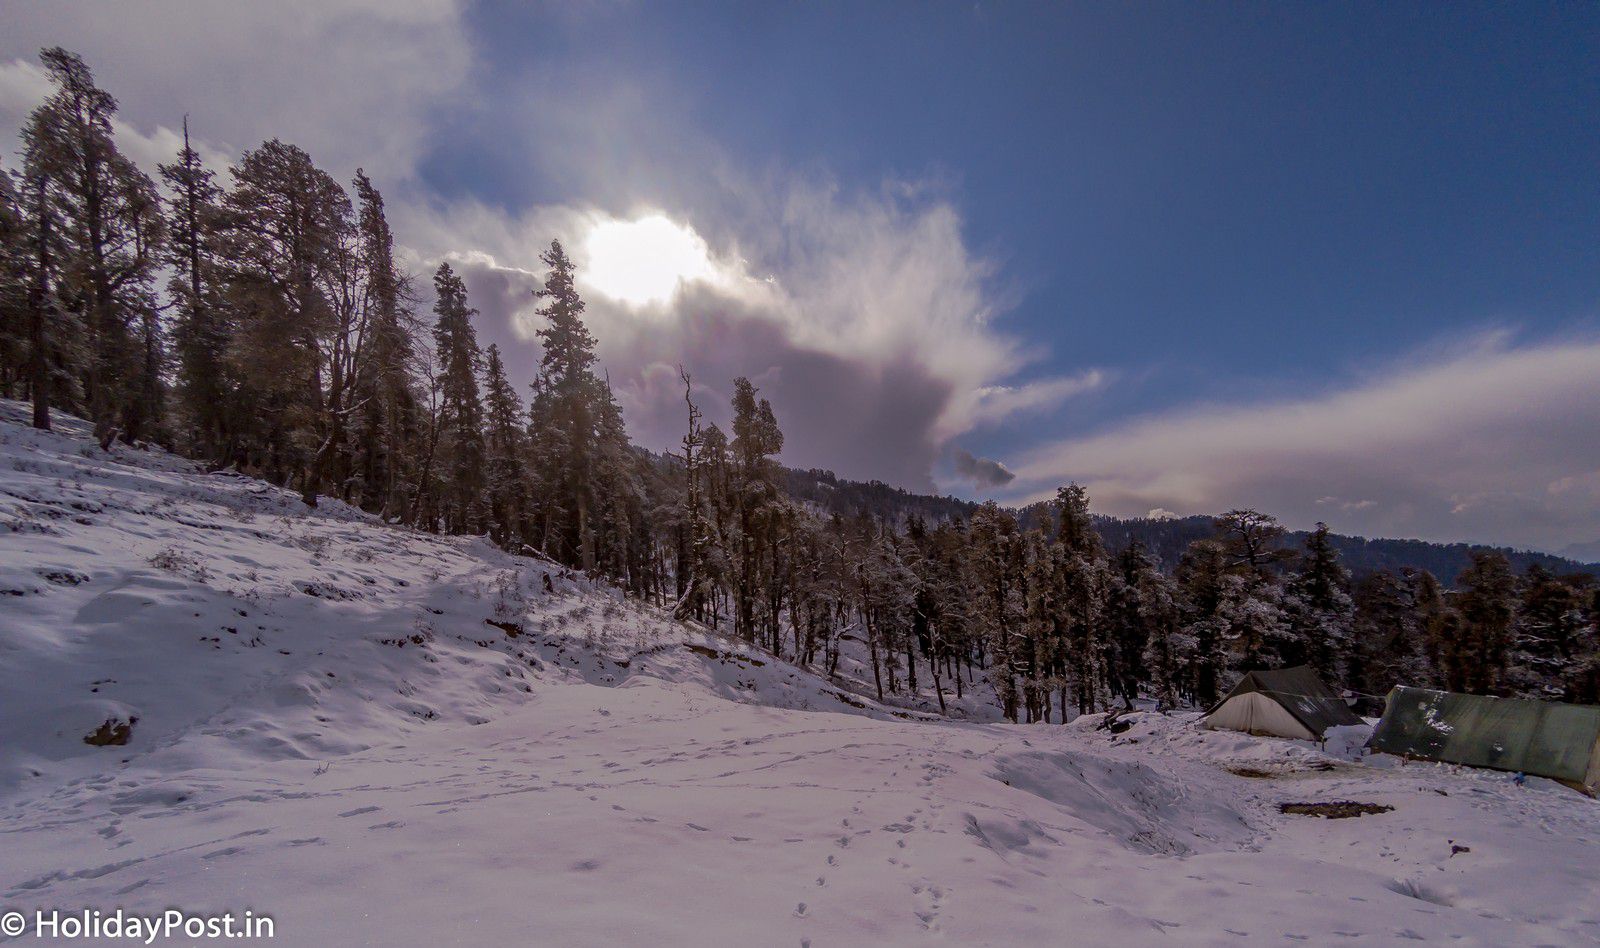
The next day, there is no more snowfall. The Sun is shining at full brightness and everything around us is white reflecting the rays of the sun. Way to the next campsite is not that hard and we’ve given enough time to prepare ourselves.
As per my travel rule, I woke up early in the morning and start capturing some sunrise photos. We quickly had our breakfast and start moving to the next campsite.
The Trail from Juda Ka Talav to Luhasu (Kedarkantha Base Camp) is relatively easy as compared to the last one and also the distance is shorter. Spent few hours at the Juda Ka Talav where the sun is shining at full brightness.

We walked through dense forest with water dropping from the trees as the bright sun melting the snow.
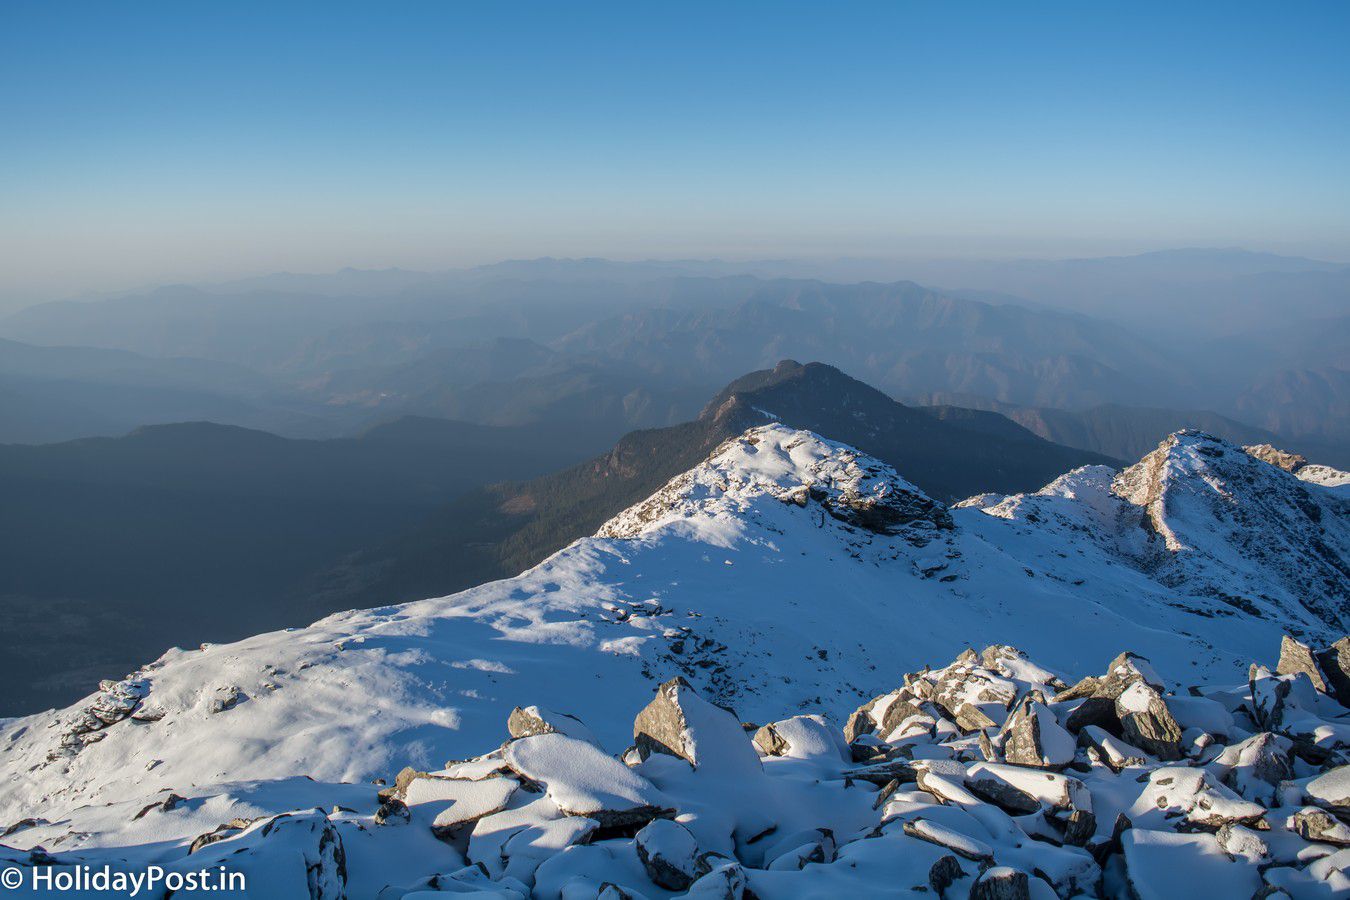
We quickly reached the last campsite before the summit, Luhasu campsite located at an altitude of 10000 feet and I can now finally see the Kedarkantha peak. The view from the Luhasu campsite was incredible, I sit in the snow and enjoy the beautiful view.
The Sun was shining at full brightness and I used this opportunity to capture some beautiful shots which was not possible the day before due to overcast conditions.
Blue Sky + Snow + Sunlight makes it a deathly combo for any photograph. Just keep pressing the shutter till either you run out of battery or storage is full.
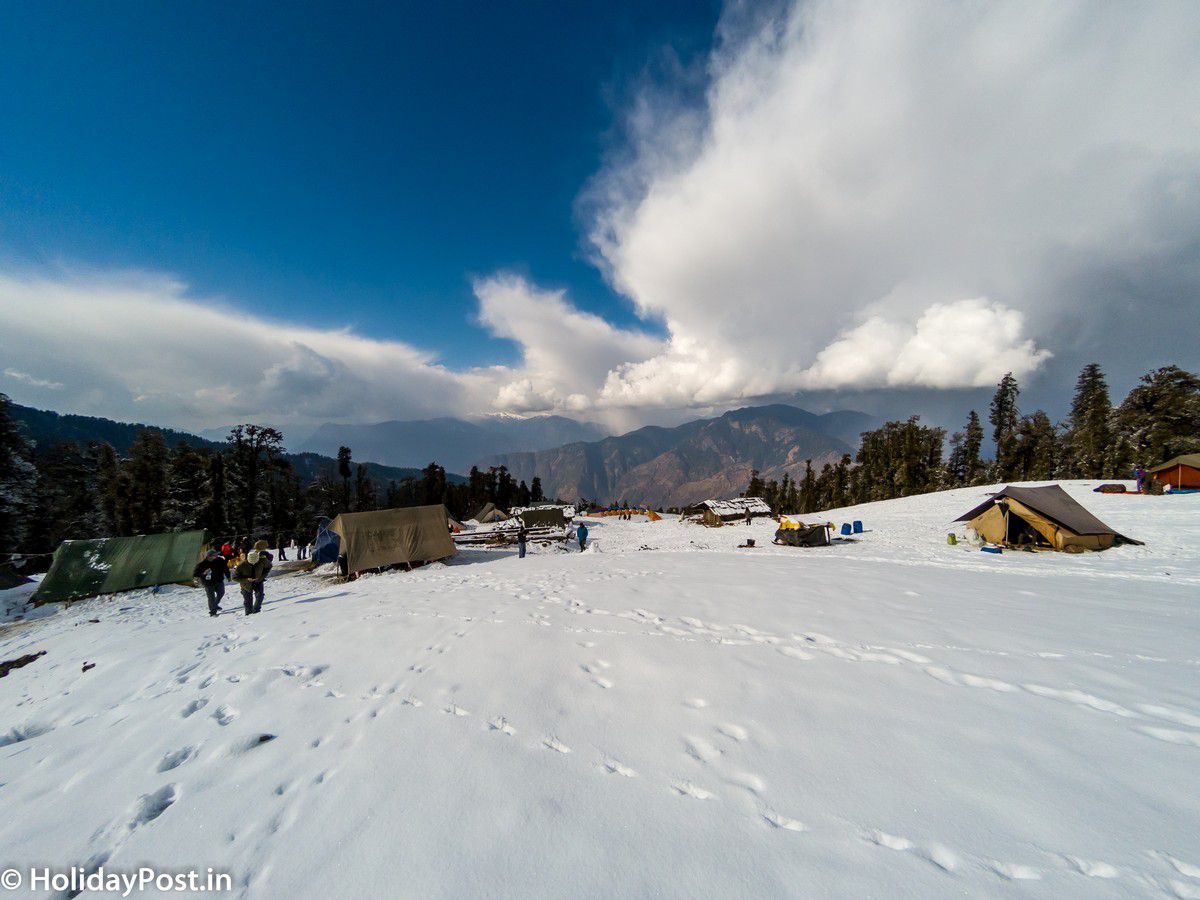
Luhasu campsite is located at a clearing at the altitude of 10,000 feet and there are no trees around us to protect us from harsh wind. Just after sunset, the temperature sharply dropped and we started to shiver. It’s challenging to get out of the tent and because of that we quickly finish our dinner and get back inside the tent.
Day 4 (Luhasu Base Camp to Kedarkantha Summit)
The Night was tough as it was very windy and I’m excited about my peak. Didn’t get the proper sleep. I got up at the 2 AM as we’ve to leave the camp sharp at 4 AM so that we reach the peak at sunrise time. Waking up early in the morning is a tough task as the temperature was -10degree C and nobody want to get out of their tent.
However we cannot stay inside, we’re here for the challenge, we’re to see the sunshine at the Himalayas. Everyone assembled outside and we started our trekking to Kedarkantha summit.
We left our backpack in the tent and only pick necessary items such as Water Bottle, my camera gears, Torch & walking stick.
This is the first time I’m doing any Summit trekking and I was getting an Everest-like feeling.
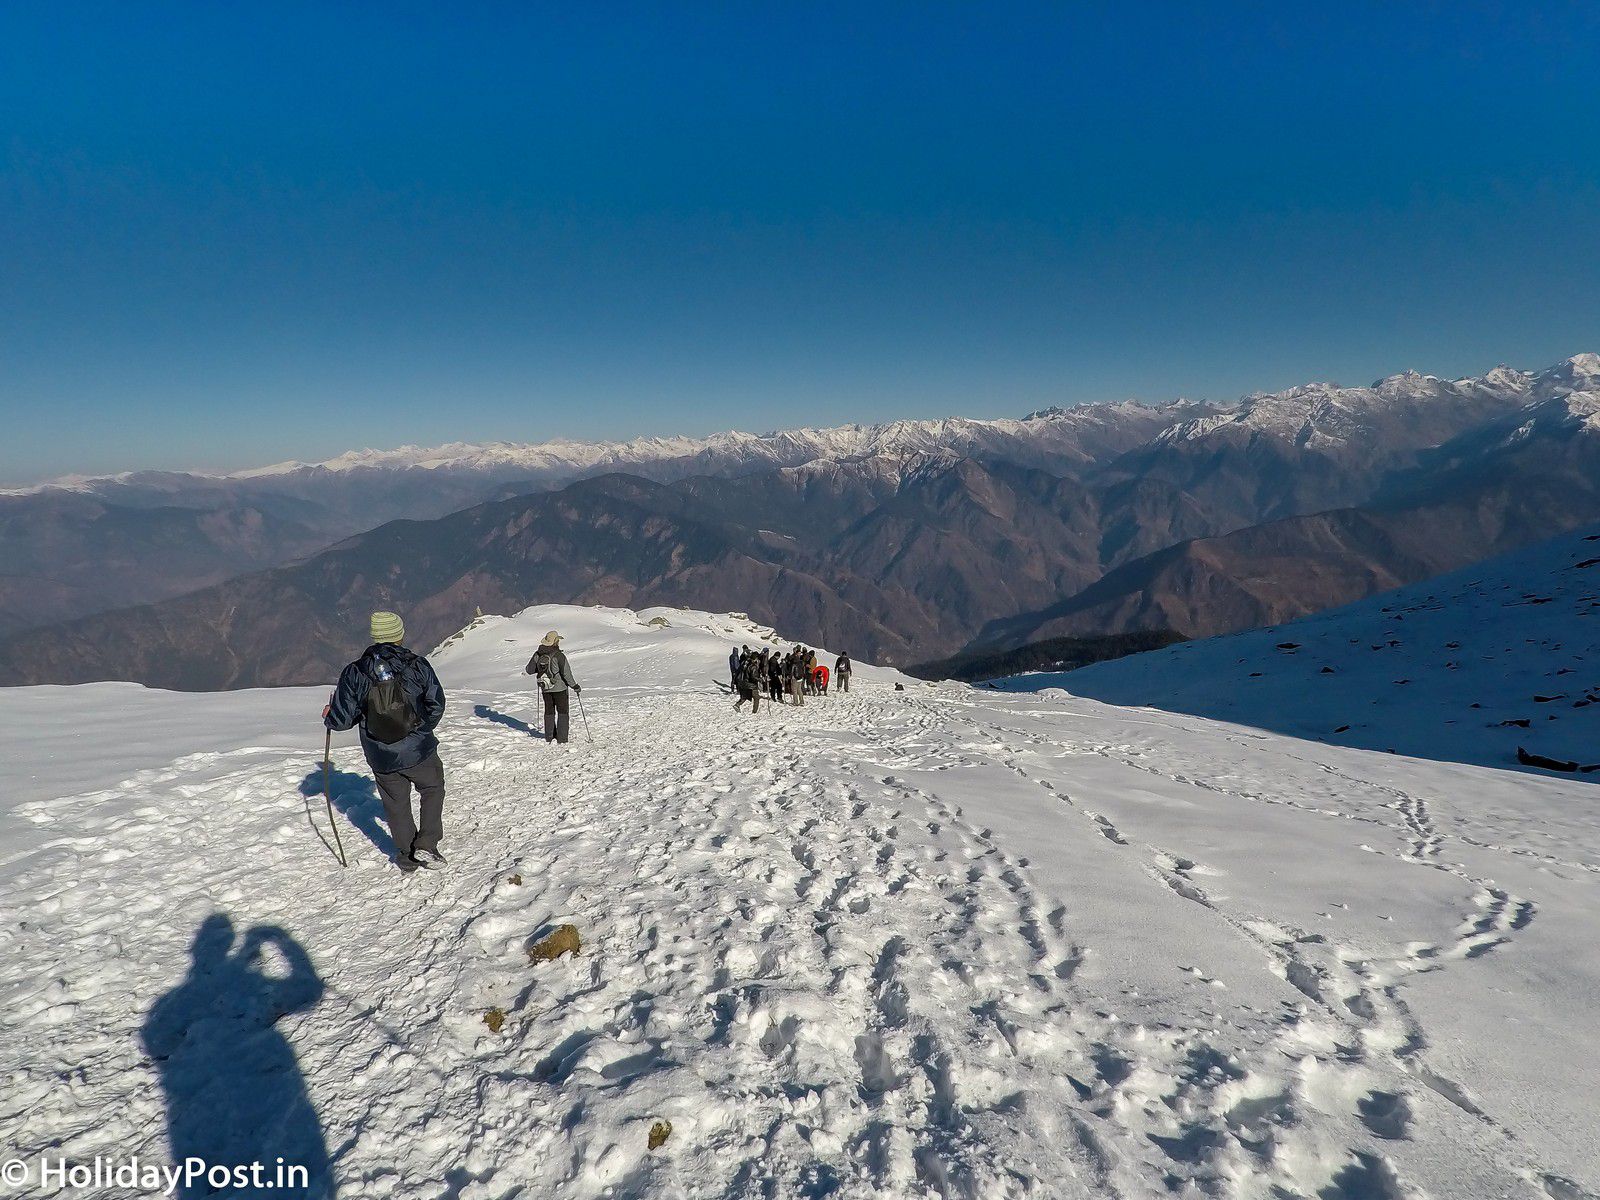
Just like school students, we’re walking in a straight line, 80% of trekkers came here without any preparation, they even don’t have the torch with them. In my groups, I’m the only one carrying the LED torch and I was also guiding my friends.
Remember, there is an unwritten rule in the Himalayas, always help your fellow trekkers no matter what the situations are. I knew that sharing light with my friends will slow down my speed which means I’m gonna miss the sunrise from the peak, but decided to stay with them as two of my friends are the first-timer.
The trail was not easy, despite having good trekking shoes, I was facing difficulty to keep up my grip. However, I succeed it without any use of a crampon. If you’ve good trekking shoes like Quechua Forclaz 600 then you do not need crampons.
The path is long and seems never-ending and with every move, the difficulty level of the trail keeps on rising. The amount of snow grow, trail steepness was all-time high and oxygen level keeps on declining.
The Himalayas never let you win so easily, I’ve seen people suffered from low oxygen, lost breath, their confidence level is all-time low and few of them quit in the mid-way. This is why I recommend all the future trekkers to come with the preparation, basic training is recommended.
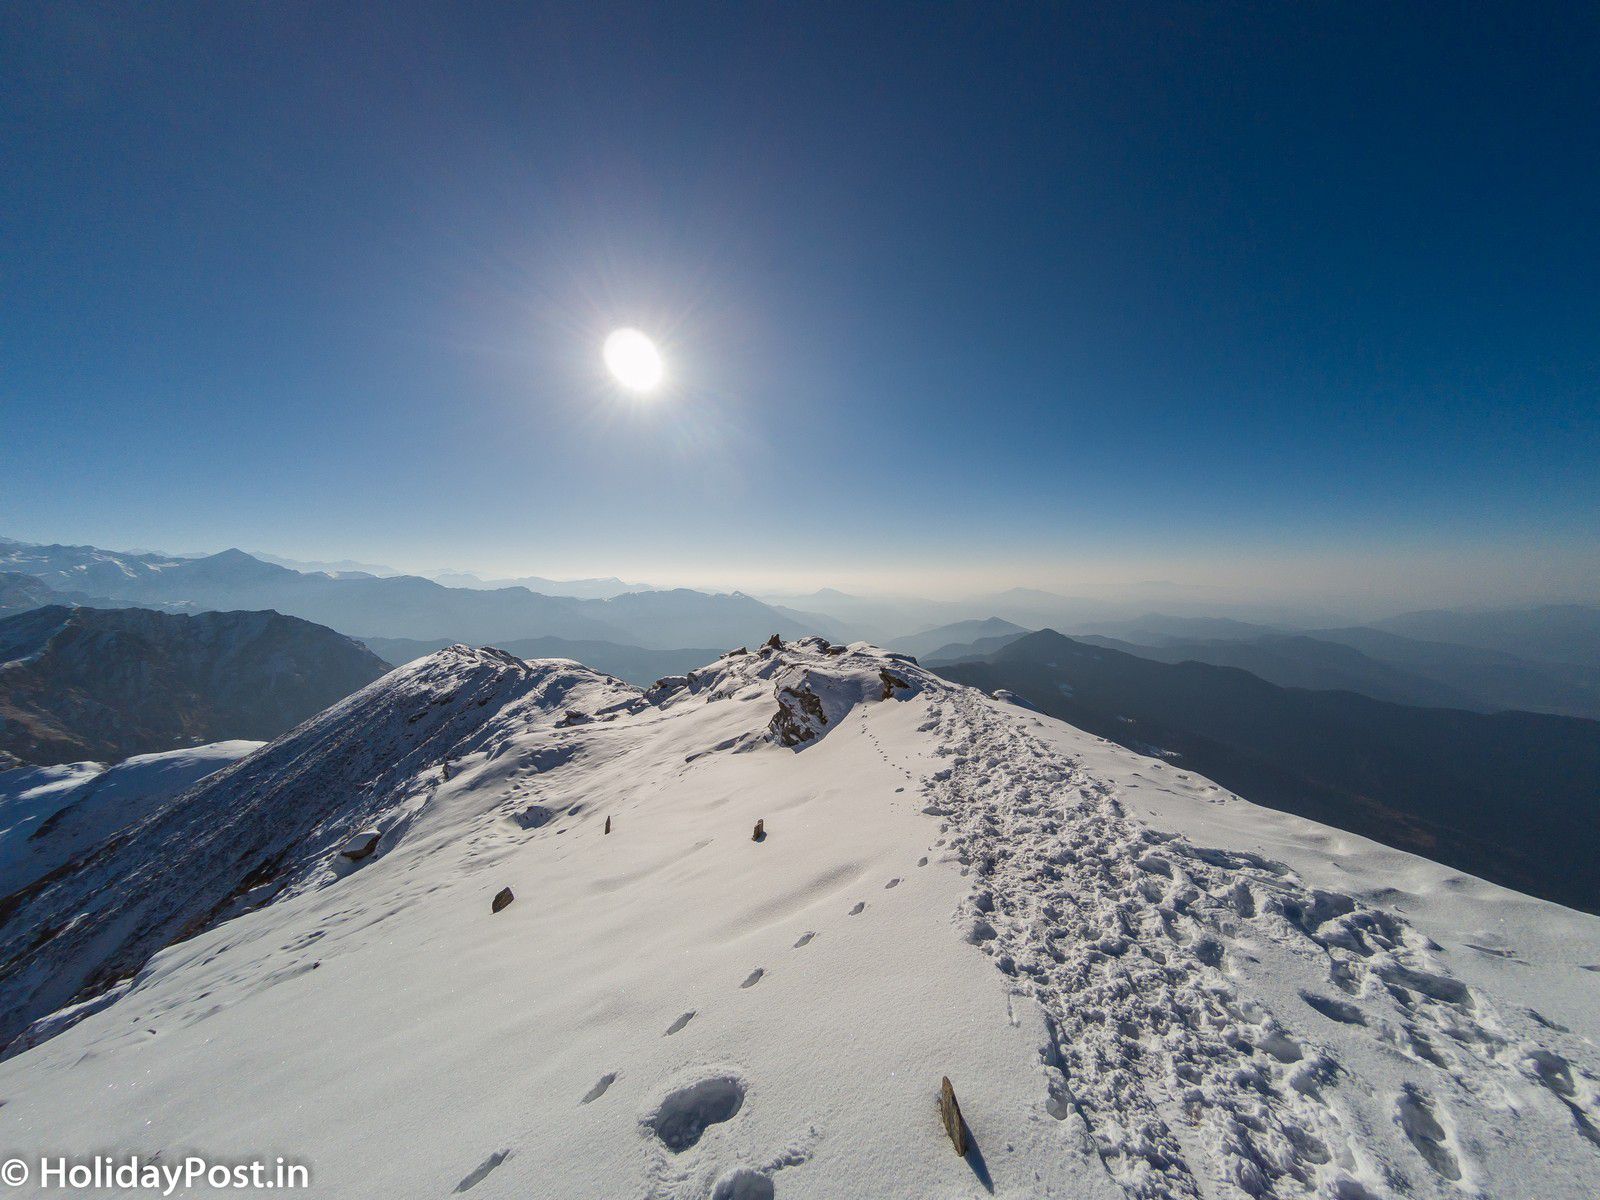
We’re few meters away from the Summit and then I look at my left side. The Horizon at Swargarohini turns orange which means sunrise can happen any minute.
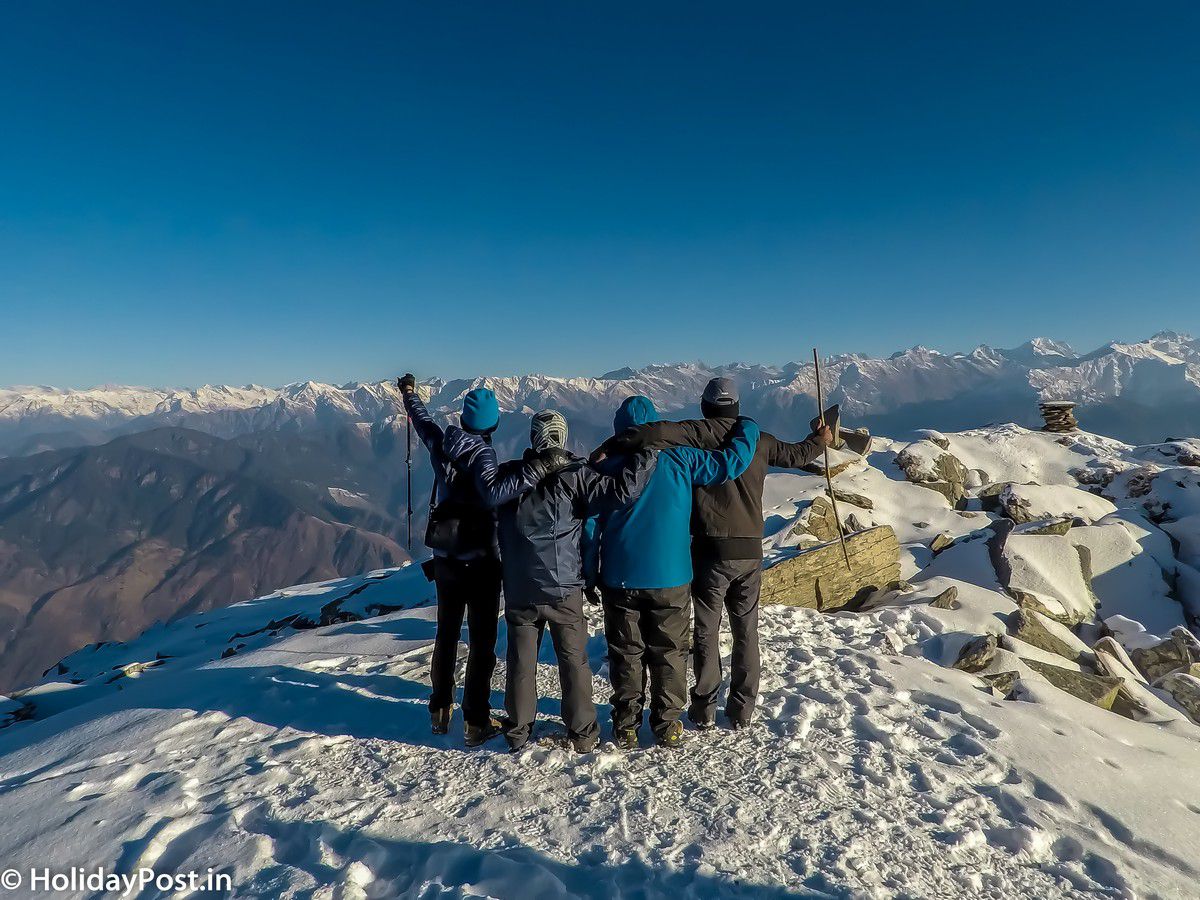
After 5 months of Training, 1150 KM of the journey, trekking in -12°C temperature, I finally reached the summit of Kedarkantha Trek at the altitude of 12500 feet. From the Kedarkantha Summit, you can enjoy the 360-degree view of the mountains around. From the top, you can view the Swargarohini, Bandarpunch, Kaalnag peak and on the other side, you’ll find the Yamunotri range.
Few dick heads forgot that Kedarkantha Summit is not just another hangout place, few people removed their clothes and start shouting for no reason. They forget that there is a temple at top of it and it’s considered as a sanctum by local people. I feel that this kind of tourist shouldn’t be allowed at these places. They are not here to enjoy nature and the Himalayas, this is just another hangout place for them.

We spent around 30-45 min at the top, all the tiredness was gone. I was extremely happy as all my exercise, planning and gear selection went perfectly. I’m standing at 12000 feet at -12°C, this is the first I’m been to such altitude an extreme temperature, in fact, this is the first I’ve seen snow in my lifetime.
As usual, good things do not stay forever and it’s time to come down. We start our descend back to Luhasu base camp where we stopped for lunch and our backpack. After lunch, we start our trekking to Argoan Basecamp which is located at 8000 feet.
On the mountains, Descending is tougher than ascending and I quickly realize this after a few min of walk. I’ve to use my Walking stick to balance myself. Also, at some places, the snow is 1-2 feet deep which gives too much strain on your thighs and knees.
Most of the people decided to glide down but I decided not to do so. I’m very well aware that gliding from the top will tear the lower and you can damage your back. I don’t want to hurt my back and I was wearing my expensive hiking trousers.
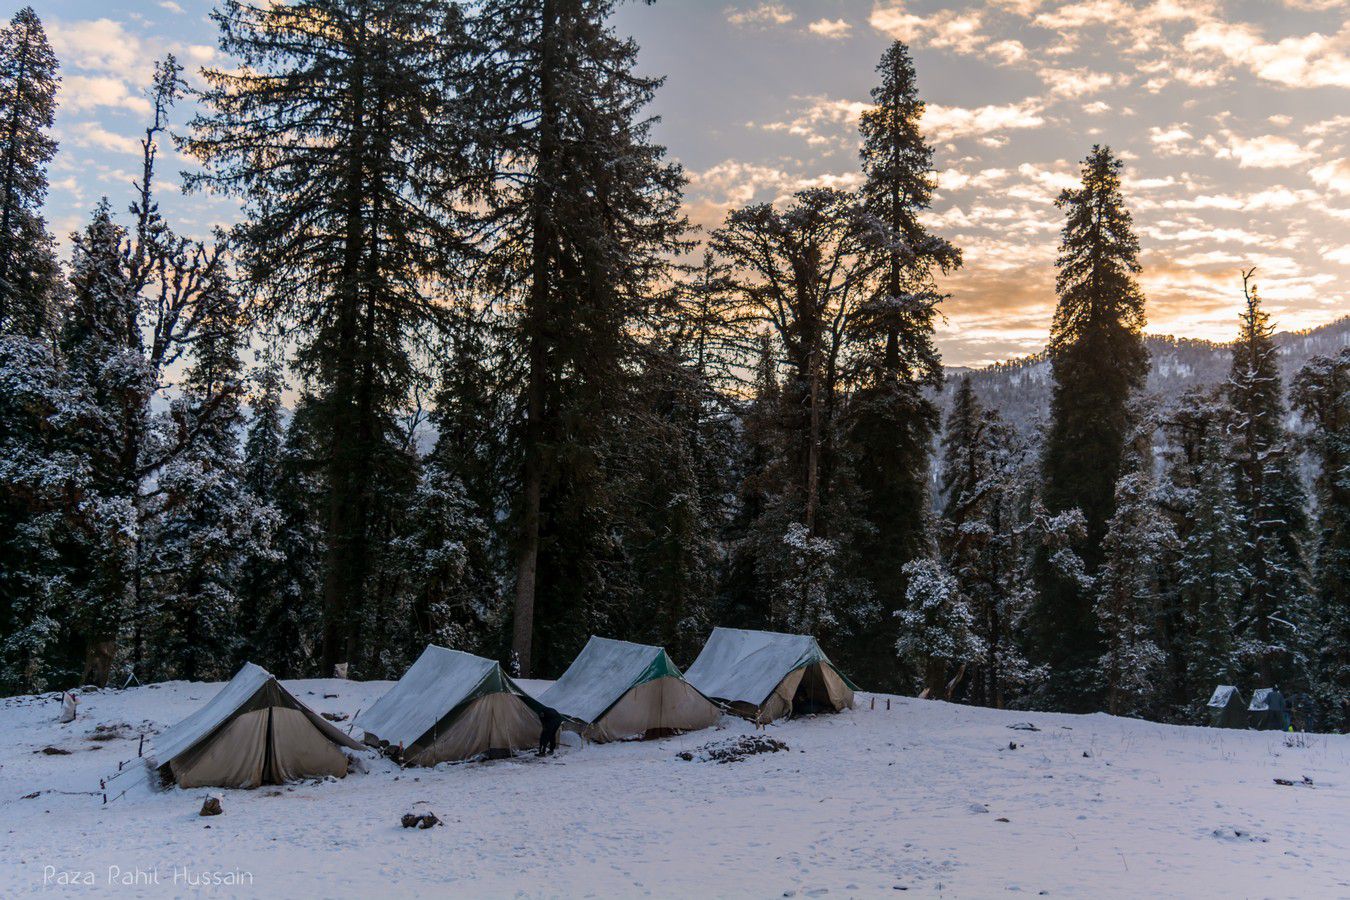
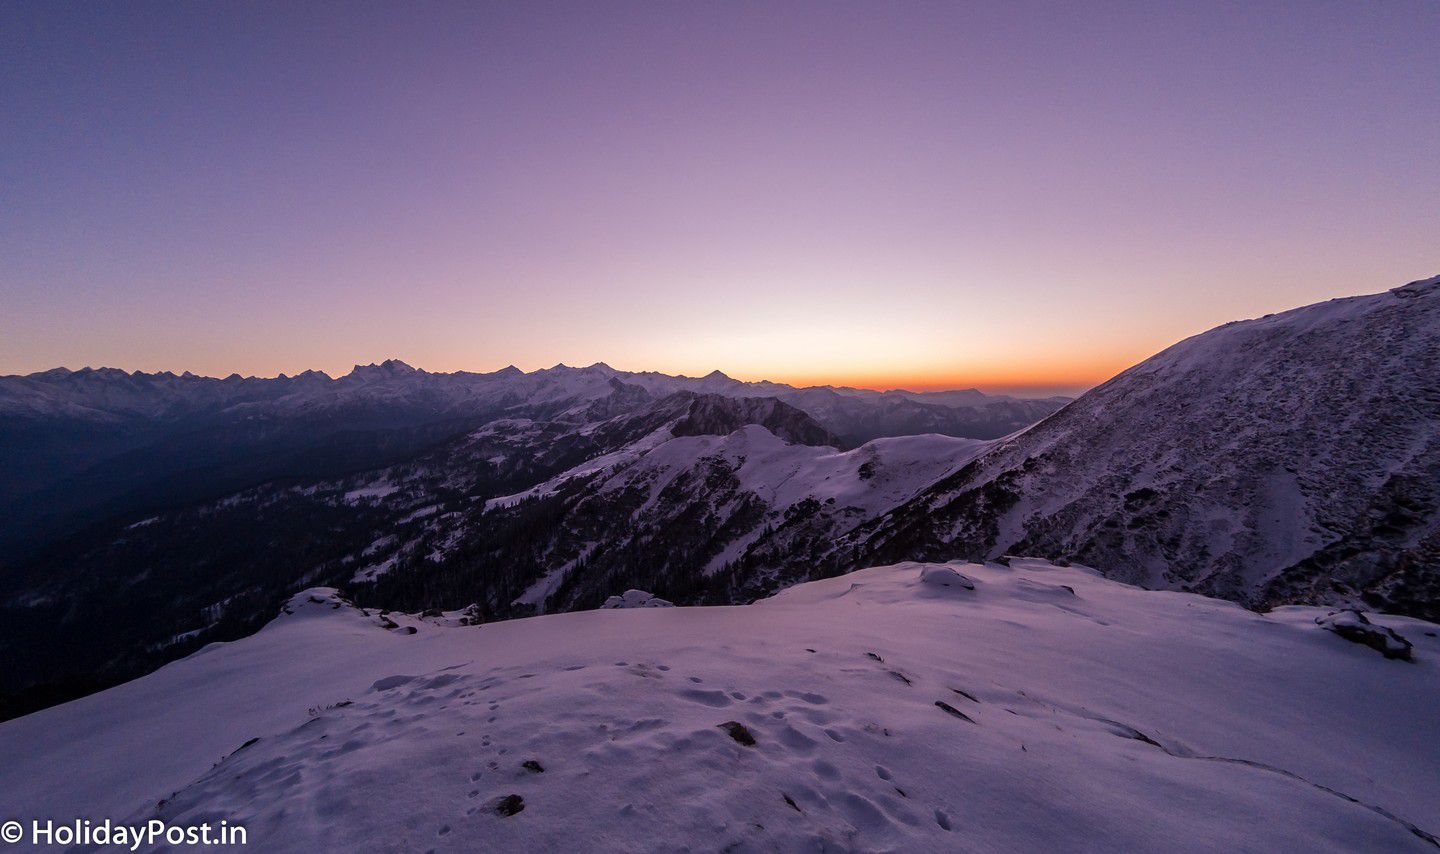
Around 4 PM, we reached the Argoan Basecamp, our last campsite in the Kedarkantha trek. We took some rest after the hectic day and captured this beautiful sunset from the camp. All those who suffered from vomiting other sicknesses are back to life as we’re back to the safe altitude of 8000 feet.
Check out the sunset at Argoan campsite:
The atmosphere in our camp filled with Joy, it was celebration time as we successfully made it to the Kedarkantha summit. Everyone was exhausted as the summit climb was not easy and quickly went to sleep.
Day 5 (Argoan Base Camp to Sankri/Dehradun)
The next day, we start our trek back to the Sankri Base Camp from there I started my marathon journey to Udaipur. I made some friends and we hired a taxi and return back to Dehradun on the same day. From there I pick a bus to Jaipur and then another bus to Udaipur.
Kedarkantha is not an Easy Trek as mentioned by many agencies, it comes in Moderate to hard in snow conditions. If you’re going to Kedarkantha Trek in Winters then you should start preparation 2 months back so that you can enjoy the entire trek otherwise you’ll crawl from one camp to another.
I learned so much from the Kedarkantha Trek, I can proudly say that I promote myself into the next stage. Now I feel more confident in the Himalayas. It is also time to look for some new Himalayan Trek, more beautiful and more challenging.
Till then Khuda Hafiz, my next travel story is from Thailand. So stay tuned to this blog.


A very inspiring post. I will be doing Sar Pass in a couple of months with YHAI, and I hope I learn a lot from the trek and enjoy at the same time. Look forward to read more from you. Have a great day!
Best of the luck for the Sar Pass. Sar Pass is the beautiful treks, it’s also on my bucket list and you’ll surely enjoy the YHAI company.
Thanks for sharing such beautiful experience.
Thanks for sharing your travel experience. Your words and pictures made me align to what you felt then and there. Last year October I did Roopkund, it was heavenly pleasant though bit difficult as it’s been my first trekking summit. I am looking forward for Kedarkantha, your blog has inspired me to have my own unique experience at the snowy summit this winter.
kedarkantha trek is one of the most beautiful treks in the uttarakhand region of India. Check this link for trekking tips to kedarkantha.
I have done kedarkantha trek. Reading this blog has refreshed my memories. Very soon I will do it again. Thanks for this inspiring article. Check my blog for trekking tips to kedarkantha trek which I wrote after my trek.
i am doing this , but do you also get to see the kedarnath temple? how far is it if one wants to visit?
You’re mixing two places, this is Kedarkantha, not Kedarnath. This place is completely opposite side. If you’re coming from your personal vehicle then you may head to Yumnotri which is on the same route.
I did the Kedar Kantha trek in the month of Dec 2020, this trek is so special for me because of many reasons, it was. my first winter trek, the first trek of 2020, the first trip after lockdown, and I gave COVID test many times just to reach Kedar Kantha peak.
after all these difficulties I made a beautiful summit to Kedar Kantha peak and it was amazing. though I did many difficult treks loke goechala i as compare to it it is easy for me and I found this trek is perfect for beginners.